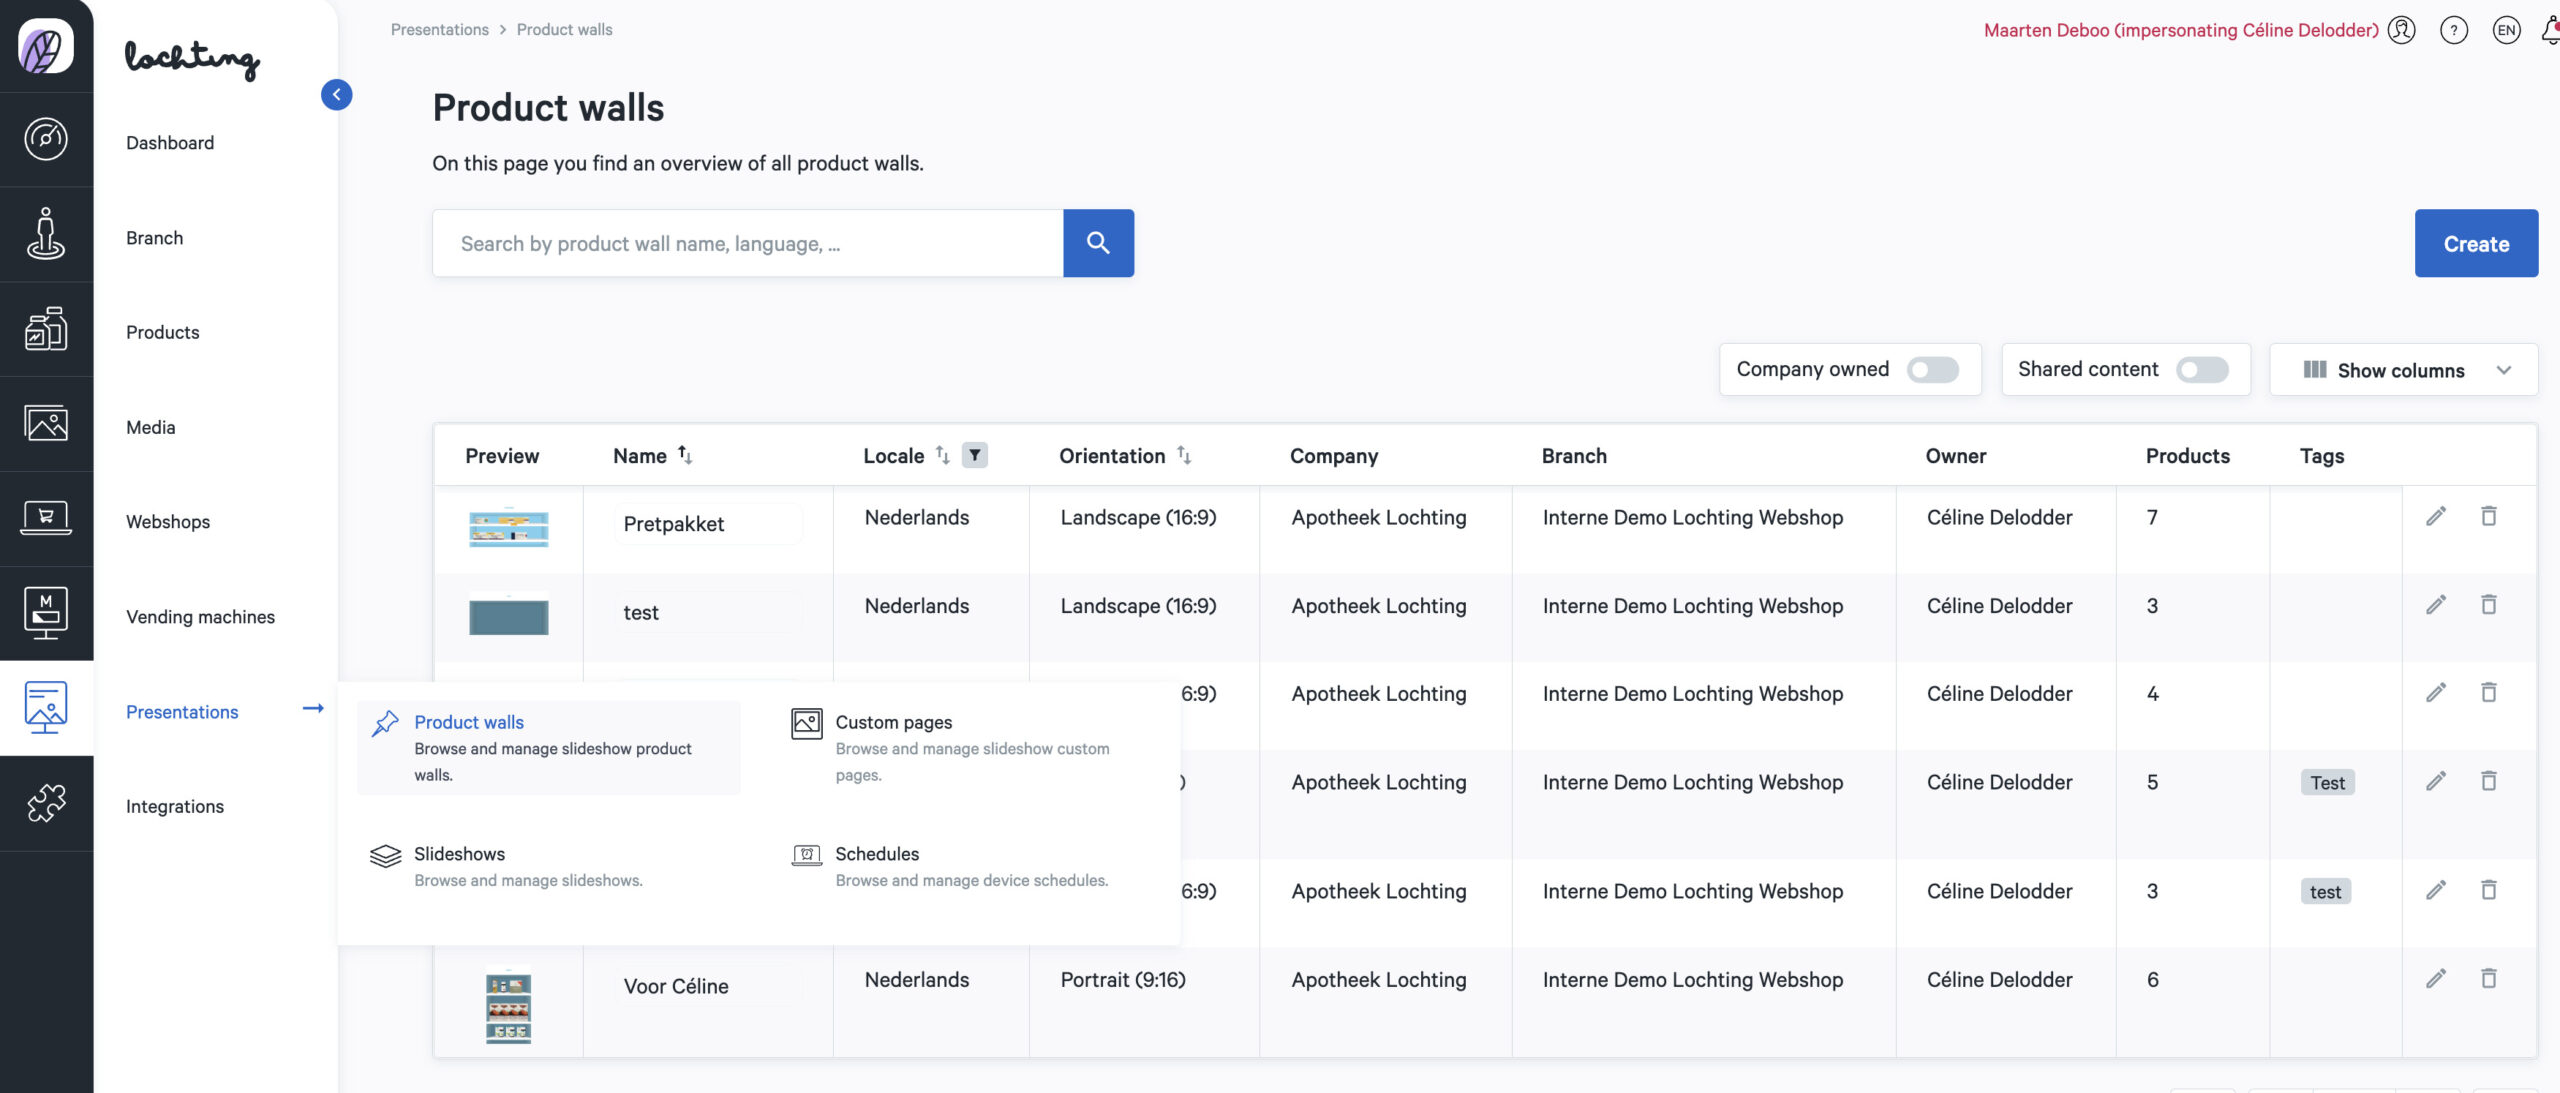
How do I create a product wall?
You can create a product setup via Presentations > Product walls > Create. You can create a product wall in three steps.
- Step 1: enter the name, choose the language of the products and the orientation of the product wall. It is then possible to add the corresponding tags here.
- Step 2: select the products that you want to add to the product wall.
- Step 3: create your product wall with the selected products:
- Create shelf in rack: Click in the rack to add a shelf. You can drag it up or down, placing all shelves in the desired position.
- Place product in rack: You place a product in the rack by dragging it to it and releasing it on the shelf. This product is automatically repeated over the entire shelf. You can change the number of products displayed by dragging the selection frame around the products. In addition, you can also control the number of displayed products in “Settings”.
- Settings: Through “Settings” you can adjust the general settings of the entire product setup. You can change the settings of one of the products via the settings icon above the product.
- Preview: To preview the product setup, click the “Preview” button. This will hide all the settings fields. You can also use the “Start live preview” button to select a TV screen within your company. The product setup will then be played as an example.

Demo create product wall: